Budget-Friendly Armor Options for Off-Road Enthusiasts
Protect your vehicle without breaking the bank. Discover budget-friendly armor options that deliver results. Enhance your vehicle's protection without exceeding your budget. Get more out of your off-road adventures with our cost-effective solutions.
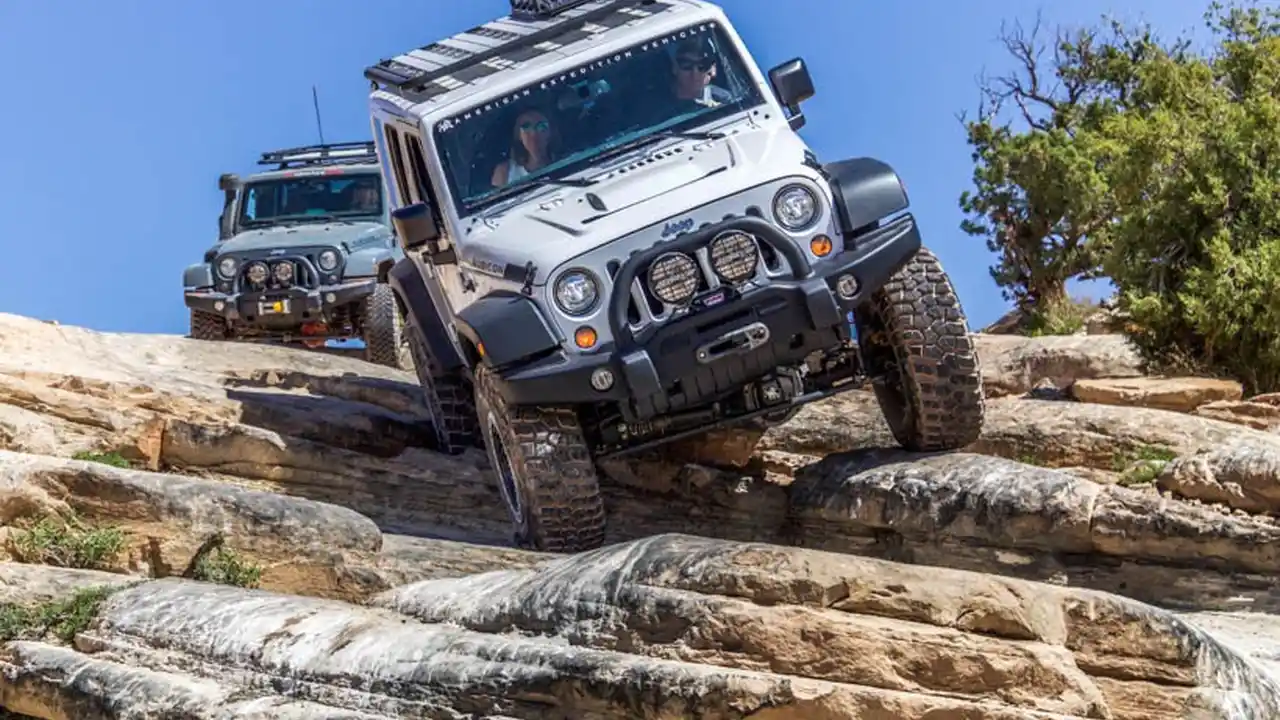
Understanding the Need for Budget Off Road Armor
Okay, let's be real. Off-roading can be expensive. Lift kits, tires, winches… the list goes on. But protecting your rig shouldn't break the bank. That's where budget-friendly armor comes in. You don't need to spend a fortune to shield your vehicle from rocks, trees, and other trail hazards. The goal is to find that sweet spot between protection and affordability.
Why is armor even important? Well, imagine scraping your rocker panels on a boulder, or denting your oil pan on a hidden stump. Those repairs add up fast. Armor acts as a shield, absorbing the impact and preventing serious damage to critical components. It's an investment in the long-term health of your off-road machine.
And let's be honest, sometimes the best trails are the ones that are a little… rough. Armor gives you the confidence to tackle challenging terrain without constantly worrying about damaging your vehicle. It allows you to focus on the adventure and enjoy the ride.
Rocker Sliders: Protecting Your Vehicle's Vulnerable Sides - Budget Rock Slider Options
Rocker sliders are one of the first armor upgrades many off-roaders consider, and for good reason. They protect your rocker panels, the area just below your doors, from getting bashed on rocks and other obstacles. This area is particularly vulnerable, and damage can be costly to repair.
What to look for in budget rocker sliders:
- Material: Look for sliders made from strong steel, ideally with a thickness of at least 3/16". Some budget options may use thinner steel, but try to avoid anything less than 1/8".
- Mounting: Bolt-on sliders are generally easier to install, but weld-on sliders offer superior strength. If you're not comfortable welding, stick with bolt-on. Make sure the mounting hardware is robust and well-designed.
- Coverage: Consider the length of the sliders. Do they extend far enough to protect the entire rocker panel? Some sliders also offer additional protection for the rear fender flares.
- Design: Some sliders have a simple tube design, while others have a more complex stepped design. Choose a design that suits your needs and aesthetic preferences.
Product Recommendations & Comparisons:
- Smittybilt Rock Sliders: Smittybilt offers a range of affordable rock sliders for various Jeep and truck models. Their sliders are typically made from 2" x 0.120" wall steel tubing and feature a textured black powder coat finish. Expect to pay around $300-$500 depending on the vehicle model. They are a good entry-level option for moderate off-roading.
- N-Fab Rock Rails: N-Fab rock rails are another popular budget choice. They often feature a drop-down step design, which can be helpful for getting in and out of the vehicle. Prices range from $400-$600. While providing decent protection, the step design might reduce ground clearance slightly.
- Tyger Auto Rock Sliders: Tyger Auto offers surprisingly affordable rock sliders with a decent build quality. They're typically made of heavy-duty steel and finished with a durable powder coat. Pricing is generally in the $250-$400 range. These are a great option if you're truly on a tight budget.
Usage Scenarios:
- Moderate trails with rocks and roots: Rock sliders are essential for protecting your rocker panels in these conditions.
- Preventing door dings in parking lots: Rock sliders can also act as a barrier against careless drivers.
- Using as a step to access the roof rack: Some rock sliders have a design that makes them useful as a step.
Skid Plates: Guarding Your Undercarriage - Affordable Skid Plate Options
Skid plates are crucial for protecting the vulnerable undercarriage of your vehicle, including the engine, transmission, transfer case, and fuel tank. These components are susceptible to damage from rocks, stumps, and other obstacles. Replacing these parts can be incredibly expensive, making skid plates a worthwhile investment.
What to look for in budget skid plates:
- Material: Steel is the most common material for skid plates, offering a good balance of strength and affordability. Aluminum skid plates are lighter but more expensive.
- Thickness: Look for skid plates with a thickness of at least 3/16" for steel. Thicker is better, but it also adds weight.
- Coverage: Consider which components you want to protect. Engine, transmission, transfer case, and fuel tank skid plates are all available.
- Mounting: Make sure the skid plates are securely mounted to the vehicle's frame. Look for bolt-on options that are easy to install.
Product Recommendations & Comparisons:
- Rough Country Skid Plates: Rough Country offers a range of affordable skid plates for various Jeep and truck models. Their skid plates are typically made from 3/16" steel and feature a black powder coat finish. Prices vary from $150-$400 depending on the specific skid plate and vehicle. They're a popular choice for budget-conscious off-roaders.
- ARB Skid Plates: While ARB is generally known for higher-end products, they do offer some more basic skid plate options that are relatively affordable. These are usually made from pressed and folded steel, offering good protection. Expect to pay in the $300-$600 range per skid plate.
- EAG Skid Plates: EAG provides a cost-effective solution for undercarriage protection. Their skid plates are constructed from durable steel and feature a straightforward bolt-on installation. Prices typically range from $100 to $300 per plate.
Usage Scenarios:
- Protecting the oil pan from rocks: A must-have for any serious off-roader.
- Shielding the transmission from impacts: Prevents costly transmission repairs.
- Guarding the fuel tank from punctures: Avoid fuel leaks and potential hazards.
Bumpers: Front and Rear Protection - Low Cost Bumper Options
Upgrading your bumpers can significantly improve your vehicle's protection, approach angle, and departure angle. Aftermarket bumpers are typically made from stronger materials than factory bumpers and can withstand more abuse. They also often include features like winch mounts and recovery points.
What to look for in budget bumpers:
- Material: Steel is the most common material for budget bumpers. Look for bumpers made from at least 3/16" steel.
- Design: Consider the style of bumper you want. Some bumpers are full-width, while others are stubby or mid-width.
- Features: Do you need a winch mount? Recovery points? Fog light mounts?
- Mounting: Make sure the bumper is securely mounted to the vehicle's frame.
Product Recommendations & Comparisons:
- Smittybilt XRC Bumpers: Smittybilt XRC bumpers are a popular choice for budget-minded off-roaders. They offer a good balance of protection, features, and affordability. Prices range from $400-$800 depending on the specific bumper and vehicle. They are generally well-regarded for their durability.
- Body Armor 4x4 Bumpers: Body Armor 4x4 offers a variety of affordable bumpers for Jeeps and trucks. Their bumpers are typically made from 3/16" steel and feature a textured black powder coat finish. Expect to pay around $500-$900.
- EAG Bumpers: EAG bumpers offer excellent value for money, providing robust protection at a budget-friendly price. Made from durable steel, these bumpers often include features like winch mounts and D-ring attachments. Prices range from $300 to $700.
Usage Scenarios:
- Improving approach and departure angles: Allows you to tackle steeper obstacles.
- Providing a secure winch mounting point: Essential for self-recovery.
- Protecting the front and rear of the vehicle from impacts: Minimizes damage in collisions.
DIY Armor: The Ultimate Budget Option
If you're handy with tools and have some welding skills, building your own armor can be the most budget-friendly option. You can source steel from local suppliers and fabricate your own rock sliders, skid plates, and bumpers. This allows you to customize the armor to your specific needs and preferences.
Pros:
- Maximum customization: Build armor to your exact specifications.
- Lowest cost: Save money on labor and materials.
- Sense of accomplishment: Enjoy the satisfaction of building your own gear.
Cons:
- Requires welding skills: Not for beginners.
- Time-consuming: Building armor takes time and effort.
- Potential for mistakes: Mistakes can be costly.
Tips for DIY armor:
- Do your research: Study existing armor designs and learn from others.
- Start with a simple project: Begin with something like rock sliders before tackling a bumper.
- Use quality materials: Don't skimp on steel thickness.
- Take your time: Rushing the process can lead to mistakes.
Finding Deals and Saving Money - Tips for Budget Off Road Armor
Even with budget-friendly options, armor can still be a significant expense. Here are some tips for finding deals and saving money:
- Shop around: Compare prices from different retailers.
- Look for sales and discounts: Sign up for email newsletters and follow retailers on social media.
- Buy used: Check online marketplaces for used armor.
- Consider group buys: Join off-road forums and participate in group buys.
- Wait for holidays: Many retailers offer discounts during holidays like Black Friday and Cyber Monday.
Installation: DIY vs Professional - Cost Effective Armor Installation
Installing armor can be a DIY project if you have the necessary tools and skills. Bolt-on armor is generally easier to install than weld-on armor. However, if you're not comfortable working on your vehicle, it's best to have a professional install the armor.
DIY installation:
- Pros: Save money on labor costs.
- Cons: Requires tools and skills. Potential for mistakes.
Professional installation:
- Pros: Ensures proper installation. Reduces the risk of mistakes.
- Cons: Adds to the overall cost.
Tips for installation:
- Read the instructions carefully: Follow the manufacturer's instructions.
- Use the correct tools: Don't try to improvise.
- Torque bolts to the correct specifications: Prevents loosening.
- Double-check your work: Make sure everything is secure.
Ultimately, protecting your off-road vehicle doesn't have to drain your bank account. By understanding your needs, researching budget-friendly options, and being smart about installation, you can armor up your rig without breaking the bank and get ready for your next adventure.
:max_bytes(150000):strip_icc()/277019-baked-pork-chops-with-cream-of-mushroom-soup-DDMFS-beauty-4x3-BG-7505-5762b731cf30447d9cbbbbbf387beafa.jpg)


