How to Install a Lift Kit: A Step-by-Step Guide
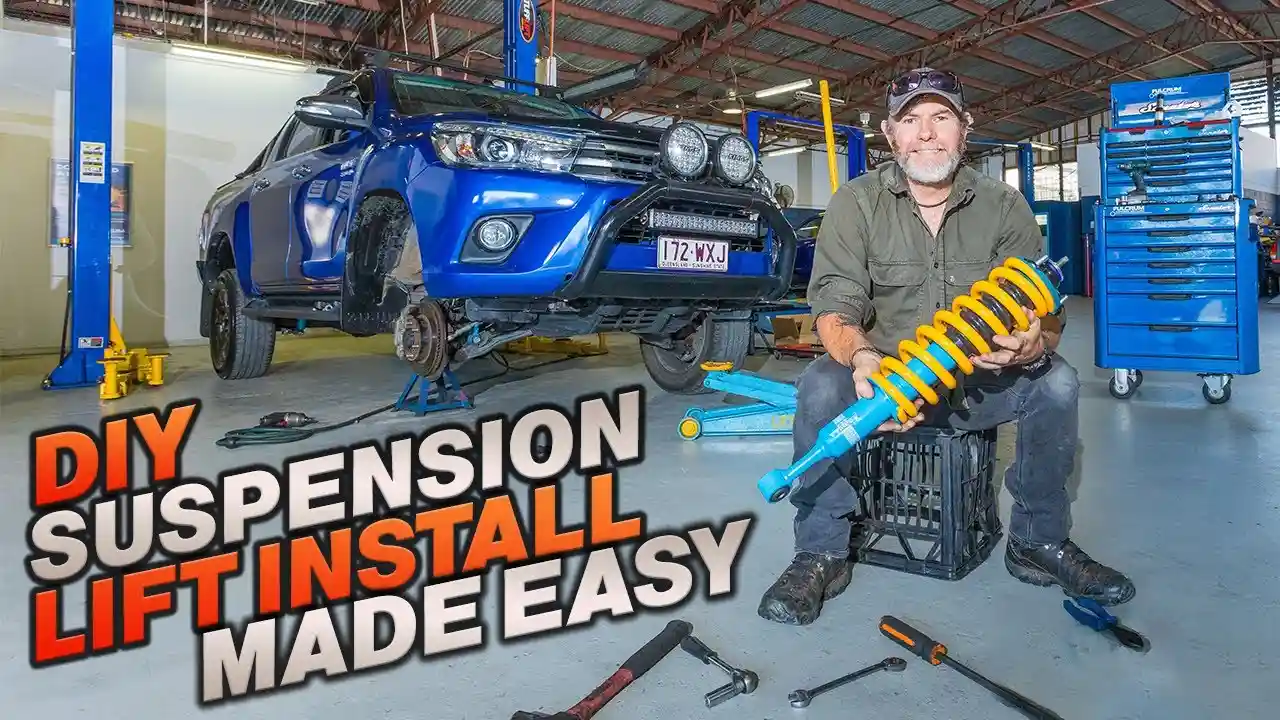
Installing a lift kit can be a rewarding DIY project. Follow our step-by-step guide for a successful installation. Learn the tools and techniques needed to lift your vehicle safely. Enhance your off-road capabilities and customize your ride with confidence.
Understanding Lift Kits and Preparation for Installation
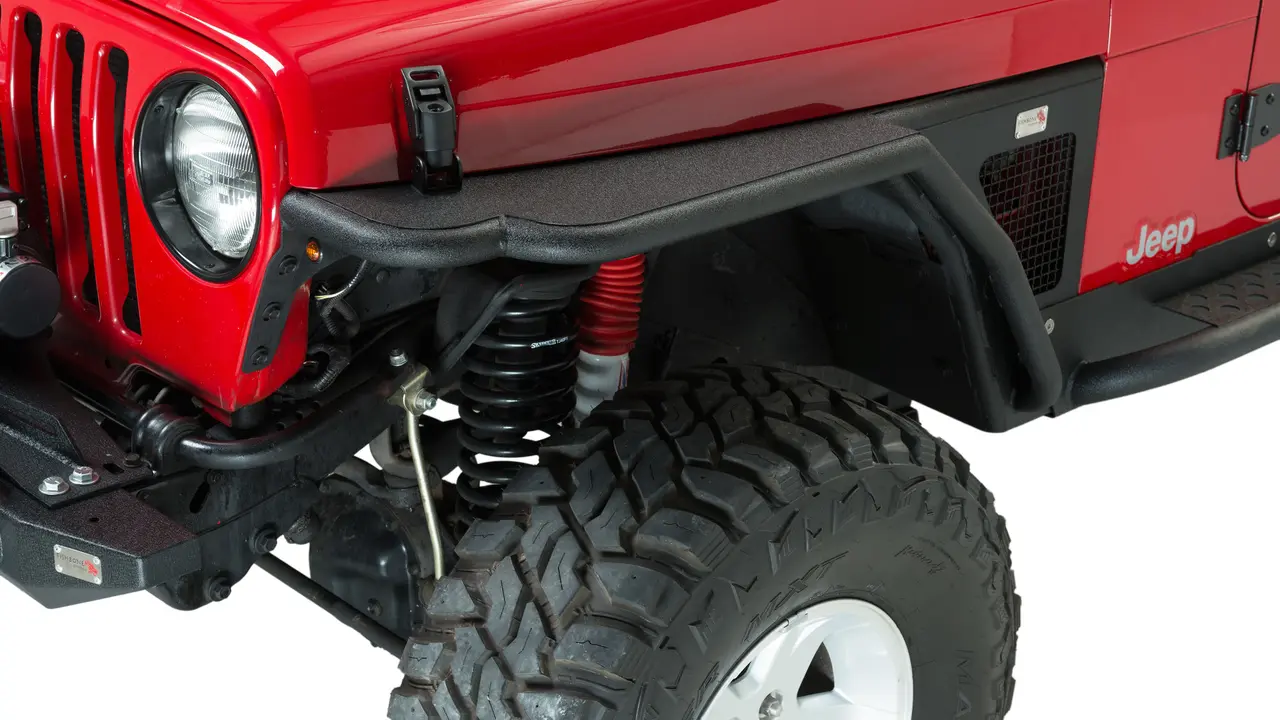
So, you're thinking about lifting your rig? Awesome! A lift kit can seriously transform your off-road experience, giving you more ground clearance, allowing for bigger tires, and just plain looking cool. But before you dive in headfirst, let's talk about what a lift kit actually *is* and what you need to do to prepare for the installation. Think of this as your pre-flight checklist before launching into the off-road stratosphere.
First off, what's in the box? A typical lift kit will include things like coil springs, shocks, control arms, sway bar links, and maybe even brake line extensions. The exact components depend on the type of lift kit you're getting – body lift, suspension lift, coil spacer lift, etc. – and the make/model of your vehicle. Read the instructions *thoroughly*! Seriously, don't skip this step. It'll save you a ton of headaches later.
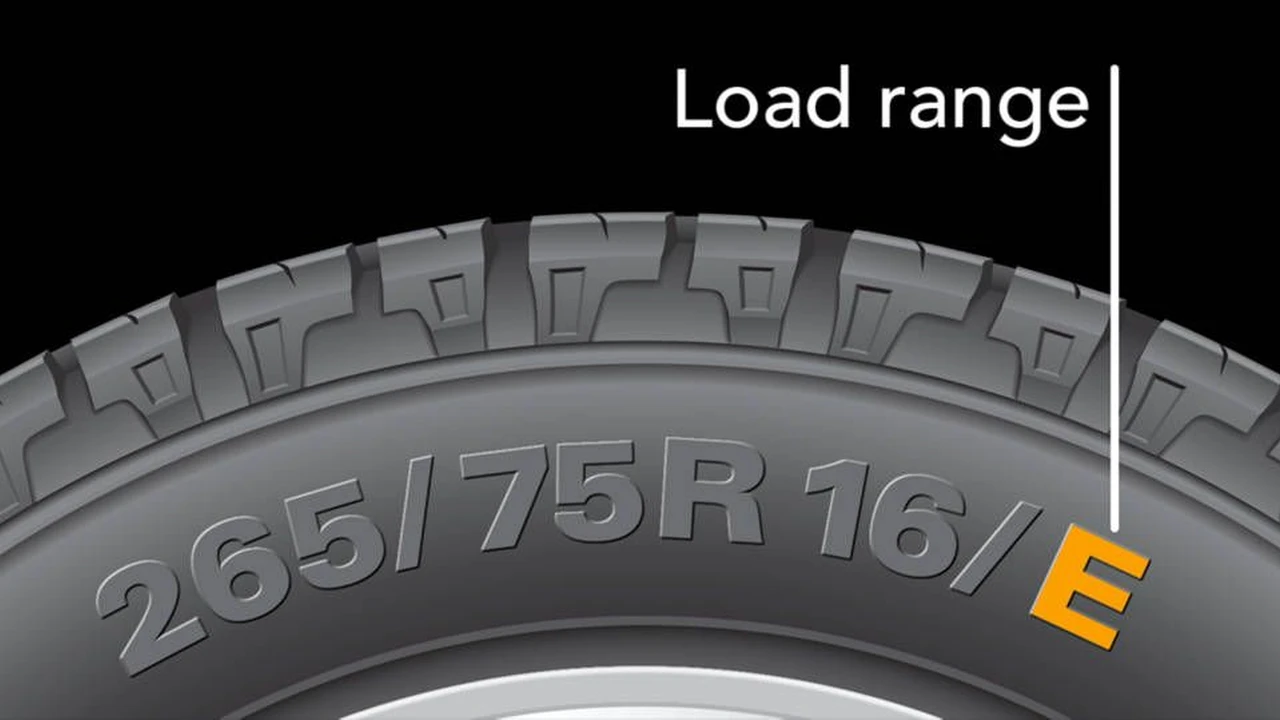
Speaking of your vehicle, make sure you're getting the right kit. A lift kit designed for a Jeep Wrangler JL won't work on a Toyota Tacoma. Double, triple, and quadruple check that part number. Also, consider the type of off-roading you do. Are you rock crawling, overlanding, or just hitting some light trails? The type of lift you need will vary based on your needs.
Tools? You're gonna need 'em. A good set of wrenches, sockets (metric and standard, depending on your vehicle), a torque wrench, jack stands, a floor jack, and maybe even a spring compressor. Don't skimp on the tools. Cheap tools can break, strip bolts, and generally make your life miserable. A breaker bar is your best friend for stubborn bolts. PB Blaster or similar penetrating oil is also a lifesaver.
Safety first! Wear safety glasses. Seriously. Rust, dirt, and debris will be flying everywhere. Gloves are also a good idea to protect your hands. And most importantly, use jack stands! Never, ever work under a vehicle supported only by a jack. It's not worth the risk.
Step-by-Step Guide to Installing Your Lift Kit
Alright, let's get down to the nitty-gritty. This is a general guide, and your specific installation process may vary depending on your vehicle and lift kit. Always refer to the manufacturer's instructions for your kit. But here's the basic rundown:
- Preparation is Key: Park your vehicle on a level surface. Engage the parking brake. Disconnect the negative battery terminal. This prevents accidental electrical shorts.
- Loosen Lug Nuts: Loosen the lug nuts on all four wheels. Don't remove them completely, just break them loose.
- Raise and Support the Vehicle: Using a floor jack, raise the vehicle and place jack stands under the frame rails. Make sure the jack stands are securely positioned.
- Remove Wheels: Now you can fully remove the lug nuts and take off the wheels.
- Disconnect Suspension Components: This is where things get vehicle-specific. You'll likely need to disconnect things like sway bar links, shocks, brake lines (be careful!), and possibly control arms. Take pictures as you go! This will help you remember how everything goes back together.
- Remove Old Springs and Shocks: Use a spring compressor if necessary to safely remove the coil springs. Remove the old shocks.
- Install New Lift Components: Install the new coil springs, shocks, control arms, and other lift kit components according to the manufacturer's instructions. Make sure everything is properly seated and torqued to the correct specifications.
- Reconnect Suspension Components: Reconnect all the suspension components you disconnected earlier. Again, refer to your pictures if you need a reminder.
- Install Brake Line Extensions (if needed): If your lift kit includes brake line extensions, install them now. Make sure the brake lines are not stretched or kinked.
- Reinstall Wheels: Put the wheels back on and tighten the lug nuts hand-tight.
- Lower Vehicle and Torque Lug Nuts: Lower the vehicle to the ground and torque the lug nuts to the manufacturer's specifications.
- Double-Check Everything: Go over everything you did and make sure all bolts are tightened and all components are properly installed.
- Reconnect Battery: Reconnect the negative battery terminal.
- Test Drive: Take your vehicle for a short test drive and listen for any unusual noises. Check for any leaks.
- Get an Alignment: After installing a lift kit, it's crucial to get a professional wheel alignment. This will ensure proper handling and prevent premature tire wear.
Recommended Lift Kit Products and Their Applications
Okay, so you're ready to buy a lift kit. Here are a few popular options, along with their typical applications and price ranges (prices are approximate and can vary):
- Rough Country Lift Kits: A budget-friendly option for mild off-roading and daily driving. Good for beginners. Price range: $300 - $1000.
- TeraFlex Lift Kits: A mid-range option known for quality and performance. Suitable for more serious off-roading. Price range: $800 - $2500.
- Fox Shocks Lift Kits: High-end lift kits with premium shocks for superior performance and ride quality. Ideal for hardcore off-roaders and overlanders. Price range: $1500 - $4000+.
- King Shocks Lift Kits: Another high-end option, similar to Fox, offering excellent performance and durability. Often used in competitive off-roading. Price range: $2000 - $5000+.
- Old Man Emu (OME) Lift Kits: Known for their focus on ride quality and durability, especially for overlanding. A popular choice for Toyota vehicles. Price range: $1000 - $3000.
Comparing Different Lift Kit Types: Suspension Lift vs Body Lift
Let's dive a little deeper into the types of lift kits available. The two main types are suspension lifts and body lifts. Each has its advantages and disadvantages.
Suspension Lifts: These kits modify the suspension components to increase ride height. This provides more ground clearance and allows for larger tires. Suspension lifts typically offer better off-road performance than body lifts. They can be more expensive and complex to install.
Body Lifts: These kits raise the body of the vehicle off the frame using spacers. Body lifts are generally less expensive and easier to install than suspension lifts. However, they don't improve ground clearance and can sometimes look a bit awkward. They're primarily for cosmetic purposes and allowing larger tires.
Troubleshooting Common Lift Kit Installation Problems
Things don't always go smoothly. Here are some common problems you might encounter during a lift kit installation and how to deal with them:
- Stripped Bolts: Use a bolt extractor or heat to loosen the bolt. If all else fails, you may need to cut the bolt and replace it.
- Stuck Suspension Components: Use penetrating oil and a hammer to loosen the components. Be patient and persistent.
- Incorrectly Torqued Bolts: Double-check the torque specifications in the manufacturer's instructions and re-torque all bolts.
- Vibrations After Installation: This could be due to an unbalanced driveshaft or an incorrect wheel alignment. Get your vehicle professionally inspected.
- Brake Line Issues: Make sure the brake lines are not stretched or kinked. If necessary, replace them with longer lines.
Maintaining Your Lifted Vehicle for Longevity
Once you've installed your lift kit, it's important to maintain your vehicle properly to ensure its longevity and performance. Here are a few tips:
- Regularly Inspect Suspension Components: Check for wear and tear on shocks, springs, control arms, and bushings.
- Get Frequent Wheel Alignments: Lifted vehicles are more prone to alignment issues. Get a wheel alignment every 6 months or after any significant off-road trip.
- Grease Suspension Components: Grease any greaseable fittings on your suspension components regularly.
- Monitor Tire Wear: Uneven tire wear can indicate alignment problems or suspension issues.
- Wash Your Vehicle Regularly: Remove mud, dirt, and salt to prevent rust and corrosion.
The Importance of Wheel Alignment After Lifting Your Vehicle
We can't stress this enough: getting a wheel alignment after installing a lift kit is crucial. Lifting your vehicle changes the suspension geometry, which can affect the alignment angles (camber, caster, and toe). An incorrect alignment can lead to:
- Premature Tire Wear: Tires will wear unevenly and need to be replaced more frequently.
- Poor Handling: The vehicle may pull to one side or feel unstable.
- Reduced Fuel Economy: Misaligned wheels create more rolling resistance, reducing fuel efficiency.
- Suspension Damage: Incorrect alignment can put stress on suspension components, leading to premature wear and failure.
A professional wheel alignment will ensure that your vehicle handles properly and that your tires wear evenly. Don't skip this step!
:max_bytes(150000):strip_icc()/277019-baked-pork-chops-with-cream-of-mushroom-soup-DDMFS-beauty-4x3-BG-7505-5762b731cf30447d9cbbbbbf387beafa.jpg)