How to Install Rock Lights for Nighttime Off-Roading
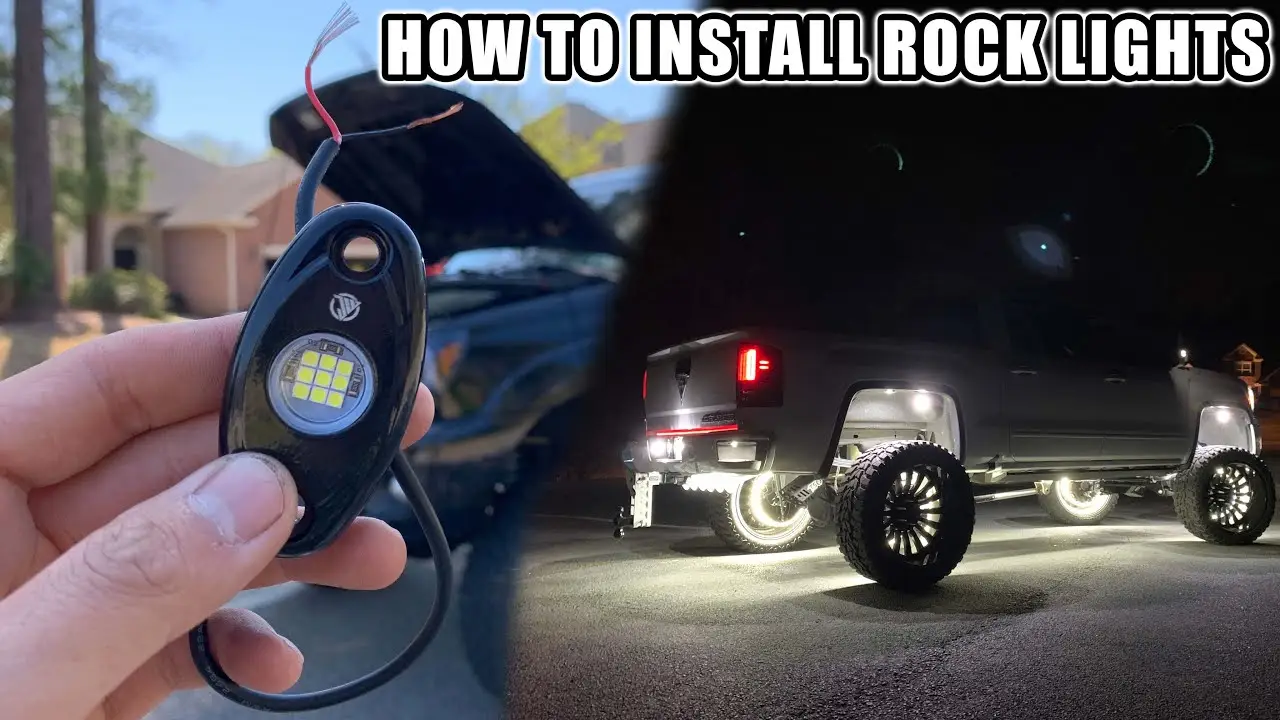
Rock lights improve visibility and safety during nighttime off-roading. Learn how to install rock lights on your vehicle. Enhance your nighttime adventures with our step-by-step guide. Be prepared for any trail condition with our helpful tips.
Why Install Rock Lights for Off-Roading Night Adventures
Off-roading doesn't have to stop when the sun goes down. In fact, for many, nighttime trails offer a unique challenge and perspective. But navigating rocky terrain in the dark can be treacherous. That's where rock lights come in. These aren't just for looks; they significantly enhance safety by illuminating the ground around your vehicle. They allow you to see potential obstacles, such as rocks, ruts, and drop-offs, preventing damage to your undercarriage and tires. Rock lights also make spotting potential hazards, like wildlife, much easier. Beyond safety, rock lights add a cool factor to your rig, making it stand out on the trails. They can also be helpful for setting up camp in the dark, providing ambient light for cooking and other tasks. Overall, rock lights are a valuable addition for any serious off-roader who enjoys exploring after dark.
Choosing the Right Rock Lights for Your Off-Road Vehicle
Before you start drilling and wiring, you need to choose the right rock lights for your vehicle. Several factors come into play, including brightness, color, durability, and mounting options.
Brightness and LED Power Considerations
Brightness is measured in lumens. The higher the lumens, the brighter the light. For rock lights, you don't need blinding brightness, but you want enough light to clearly see the terrain around your tires. A good range is between 500 and 1000 lumens per light. Consider the LED power as well, measured in watts. Higher wattage generally means brighter light, but also higher power consumption. Look for efficient LEDs that provide good brightness without draining your battery too quickly.
Rock Light Color Options and Visibility
Rock lights come in a variety of colors, including white, amber, red, green, and blue. White is the most common and provides the best visibility. Amber is also a good choice, as it cuts through dust and fog better than white. Red is often used for accent lighting and can help preserve night vision. Green and blue are more for aesthetics and may not provide the best visibility. Consider the legality of certain colors in your area, as some colors may be restricted for on-road use.
Durability and Waterproofing of Off-Road Rock Lights
Off-roading is tough on equipment, so your rock lights need to be durable. Look for lights with a rugged housing made from aluminum or polycarbonate. Waterproofing is also essential. Check the IP rating, which indicates the level of protection against dust and water. An IP67 or IP68 rating is ideal for off-road use, meaning the lights are protected against dust and can withstand immersion in water.
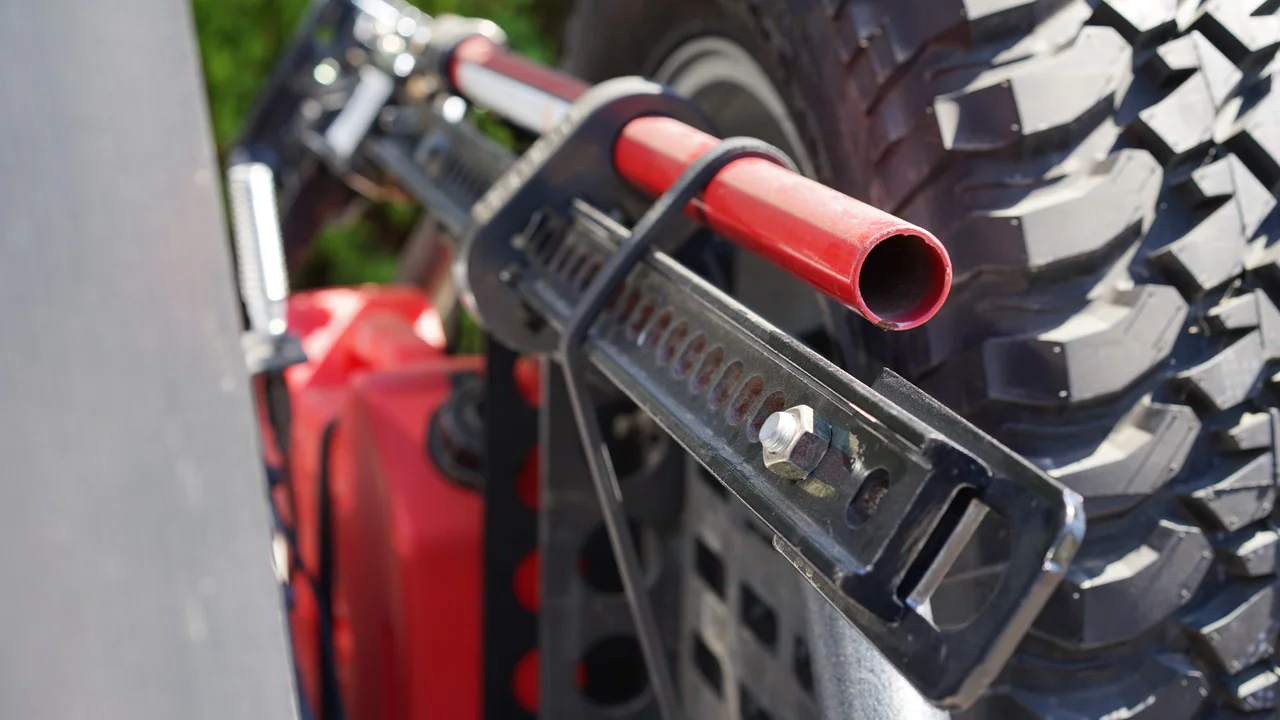
Mounting Options and Rock Light Placement
Rock lights can be mounted in various locations on your vehicle, including the wheel wells, frame rails, and bumpers. Choose lights with flexible mounting options that allow you to position them where you need them most. Consider the angle of the light and how it will illuminate the ground. You want to avoid creating glare or shadows that can obscure obstacles. Common mounting methods include screws, bolts, and adhesive pads. Some lights come with magnetic mounts for easy installation and removal.
Recommended Rock Light Products: Reviews and Comparisons
KC HiLiTES Cyclone LED Rock Light Kit
The KC HiLiTES Cyclone LED Rock Light Kit is a popular choice for its durability and brightness. These lights feature a compact design and a wide beam angle, providing excellent illumination. They are also waterproof and dustproof, making them ideal for off-road use. The kit includes multiple lights and all the necessary wiring for easy installation. Price: Approximately $150-$200.
Pros: Durable, bright, easy to install.
Cons: Can be expensive.
Xprite White LED Rock Lights Kit
The Xprite White LED Rock Lights Kit is a budget-friendly option that still offers good performance. These lights are bright and waterproof, and they come with a variety of mounting options. The kit includes multiple lights and a wiring harness. Price: Approximately $50-$80.
Pros: Affordable, bright, good value.
Cons: May not be as durable as more expensive options.
Rigid Industries A-Series LED Rock Lights
Rigid Industries is known for its high-quality lighting products, and the A-Series LED Rock Lights are no exception. These lights are extremely durable and provide excellent brightness. They are also waterproof and dustproof, making them ideal for extreme off-road conditions. Price: Approximately $200-$300.
Pros: Extremely durable, very bright, high-quality.
Cons: Expensive.
Comparison Table
| Brand | Model | Lumens (approx.) | Waterproof Rating | Price (approx.) | Pros | Cons |
|---|---|---|---|---|---|---|
| KC HiLiTES | Cyclone LED | 600 | IP68 | $175 | Durable, Bright, Easy Install | Can be Expensive |
| Xprite | White LED | 500 | IP67 | $65 | Affordable, Bright, Good Value | Durability might be less |
| Rigid Industries | A-Series | 800 | IP68 | $250 | Extremely Durable, Very Bright, High Quality | Expensive |
Step-by-Step Guide: Installing Your Rock Lights
Tools and Materials Needed for Rock Light Installation
- Rock light kit
- Drill with various drill bits
- Wire stripper/crimper
- Electrical tape or heat shrink tubing
- Wire connectors
- Zip ties
- Multimeter (optional)
- Safety glasses
- Gloves
Step 1: Planning Your Rock Light Layout and Wiring Routing
Before you start drilling, plan out the placement of your rock lights. Consider the angle of the light and how it will illuminate the ground. You want to avoid creating glare or shadows. Also, plan out the routing of your wiring. You want to keep the wiring away from moving parts and hot exhaust components. Use zip ties to secure the wiring to the frame or other components.
Step 2: Preparing the Mounting Surfaces for Rock Lights
Clean the mounting surfaces with soap and water to remove any dirt or grease. This will ensure a good bond between the lights and the vehicle. If you're using adhesive pads, make sure the surface is completely dry before applying the pads.
Step 3: Drilling Mounting Holes (If Necessary) for Rock Lights
If you're using screws or bolts to mount the lights, you'll need to drill mounting holes. Use a drill bit that is slightly smaller than the diameter of the screws or bolts. Be careful not to drill through any important components, such as fuel lines or brake lines.
Step 4: Mounting the Rock Lights Securely
Attach the rock lights to the mounting surfaces using screws, bolts, or adhesive pads. Make sure the lights are securely attached and won't come loose during off-roading.
Step 5: Wiring the Rock Lights to Your Vehicle's Electrical System
Connect the rock lights to your vehicle's electrical system. Most rock light kits come with a wiring harness that includes a fuse and a switch. Connect the positive wire to the positive terminal of the battery and the negative wire to the negative terminal of the battery. Use wire connectors to make secure connections. Use electrical tape or heat shrink tubing to insulate the connections.
Step 6: Testing and Adjusting the Rock Light Placement
Once you've wired the lights, test them to make sure they're working properly. Turn on the switch and check to see if all the lights are illuminated. If any of the lights aren't working, check the wiring connections. Adjust the placement of the lights as needed to achieve the desired illumination.
Safety Tips for Nighttime Off-Roading with Rock Lights
- Always wear safety glasses when working on your vehicle.
- Disconnect the battery before working on the electrical system.
- Use caution when drilling mounting holes.
- Keep the wiring away from moving parts and hot exhaust components.
- Test the lights before hitting the trails.
- Never drive under the influence of alcohol or drugs.
- Always wear a seatbelt.
- Be aware of your surroundings.
- Respect the environment.
Troubleshooting Common Rock Light Problems
- Lights not working: Check the fuse, wiring connections, and switch.
- Lights flickering: Check the wiring connections and battery voltage.
- Lights dim: Check the battery voltage and wiring gauge.
- Lights falling off: Use stronger adhesive or screws.
:max_bytes(150000):strip_icc()/277019-baked-pork-chops-with-cream-of-mushroom-soup-DDMFS-beauty-4x3-BG-7505-5762b731cf30447d9cbbbbbf387beafa.jpg)