How to Use a Hi-Lift Jack Safely for Off-Road Recovery
A Hi-Lift jack can be a versatile tool for off-road recovery, but it requires proper technique. Learn how to use a Hi-Lift jack safely and effectively. Enhance your recovery skills with our step-by-step guide. Be prepared for any trail condition with our helpful tips.
Okay, so you've got yourself a Hi-Lift jack. Awesome! These things are lifesavers (literally) out on the trail. But, let's be real, they can also be a bit intimidating, and downright dangerous if you don't know what you're doing. This isn't some fluffy "maybe you should know this" guide. This is a "read this before you break something (or yourself)" guide. We're gonna break down everything from choosing the right jack to proper technique, and even recommend a few specific models to get you started.
Understanding the Hi-Lift Jack: Key Components and Safety Features
First things first, let's get familiar with the anatomy of a Hi-Lift jack. You've got the main beam (that long metal thing), the climbing pins (the bits that move up and down), the lifting nose (where you actually lift), and the base (that keeps it from sinking into the dirt). Understanding how these parts work together is crucial. The climbing pins are what makes the jack work, engaging at different points to lift the load. The lifting nose is designed to hook onto your vehicle's designated jacking points. And a solid, stable base is absolutely critical for safety, especially on uneven terrain.
A lot of Hi-Lift jacks come with safety features, but don't rely on them exclusively. Always wear gloves and eye protection. Keep a firm grip on the handle. And never, ever put yourself in a position where you could be pinned if the jack fails.
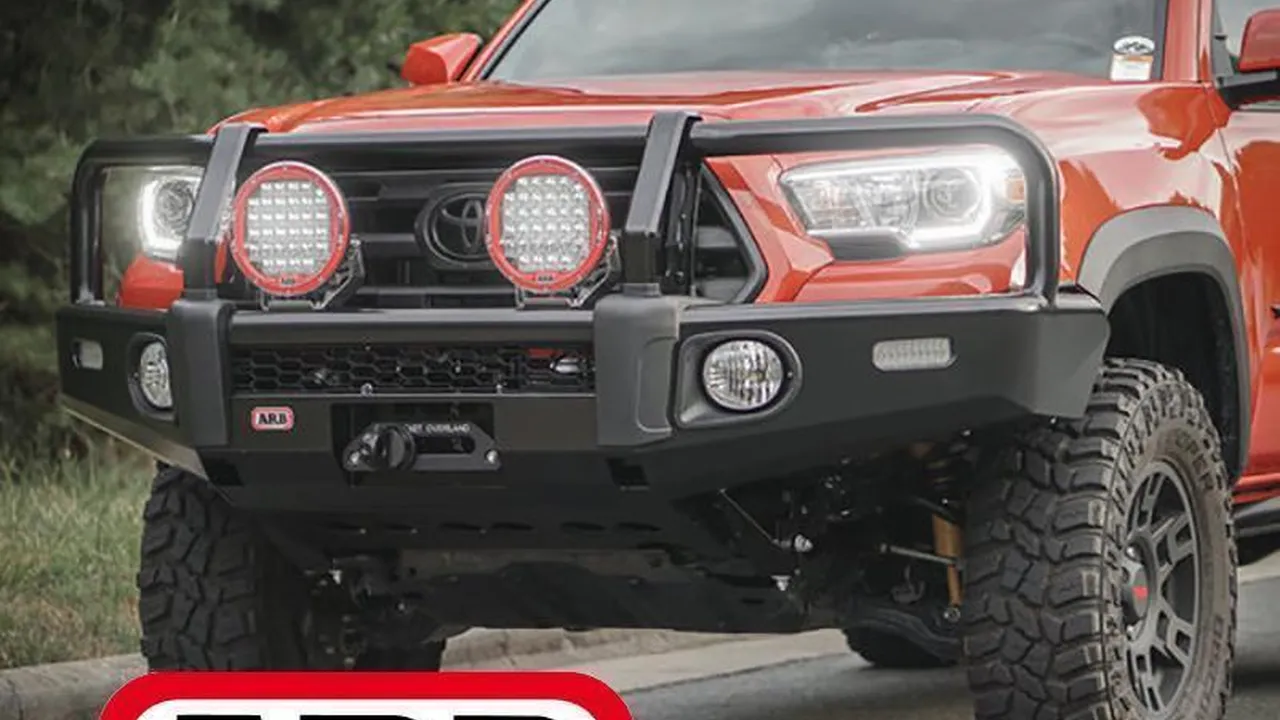
Choosing the Right Hi-Lift Jack for Your Off-Road Vehicle: Capacity and Travel
Not all Hi-Lift jacks are created equal. You need to choose one that's rated for the weight of your vehicle and has enough travel (lifting height) for your needs. A good rule of thumb is to get a jack with a capacity that's at least equal to your vehicle's gross vehicle weight rating (GVWR). This information is usually found on a sticker on your driver's side doorjamb. As for travel, consider the size of your tires and the amount of lift you have. You'll need enough travel to lift the tire completely off the ground, plus a little extra for safety.
Here are a few recommendations based on vehicle type:
- Jeep Wrangler/Gladiator: A 48-inch Hi-Lift jack is generally sufficient, especially if you have a moderate lift.
- Toyota Tacoma/4Runner: Again, a 48-inch model is a good starting point, but consider a 60-inch if you have larger tires or a significant lift.
- Full-Size Trucks (F-150, Ram 1500, Silverado): A 60-inch Hi-Lift jack is often necessary to provide enough travel for these larger vehicles.
Product Recommendations:
- Hi-Lift Jack HL484 48-Inch Red All-Cast Jack: A classic and reliable choice. Around $120.
- Hi-Lift Jack HL605 60-Inch Red All-Cast Jack: For larger vehicles or those needing extra lift. Around $140.
- Pro Eagle 3 Ton Off Road Jack: More expensive (around $400), but a far more stable and easier to use option, especially for serious off-roaders.
Safe Lifting Points: Identifying Suitable Jacking Locations on Your Vehicle for Hi-Lift Jacks
This is where things get serious. Never jack your vehicle up on a flimsy bumper or a rusty frame rail. You need to find designated jacking points that are designed to handle the weight of the vehicle. These are usually reinforced sections of the frame or rock sliders. Consult your vehicle's owner's manual to identify the proper jacking points. If you're unsure, ask a qualified mechanic or experienced off-roader.
Many aftermarket bumpers and rock sliders are designed with Hi-Lift jack points built in. These are usually clearly marked and provide a secure and stable lifting surface. If you're planning on using a Hi-Lift jack frequently, investing in aftermarket armor with integrated jacking points is a smart move.
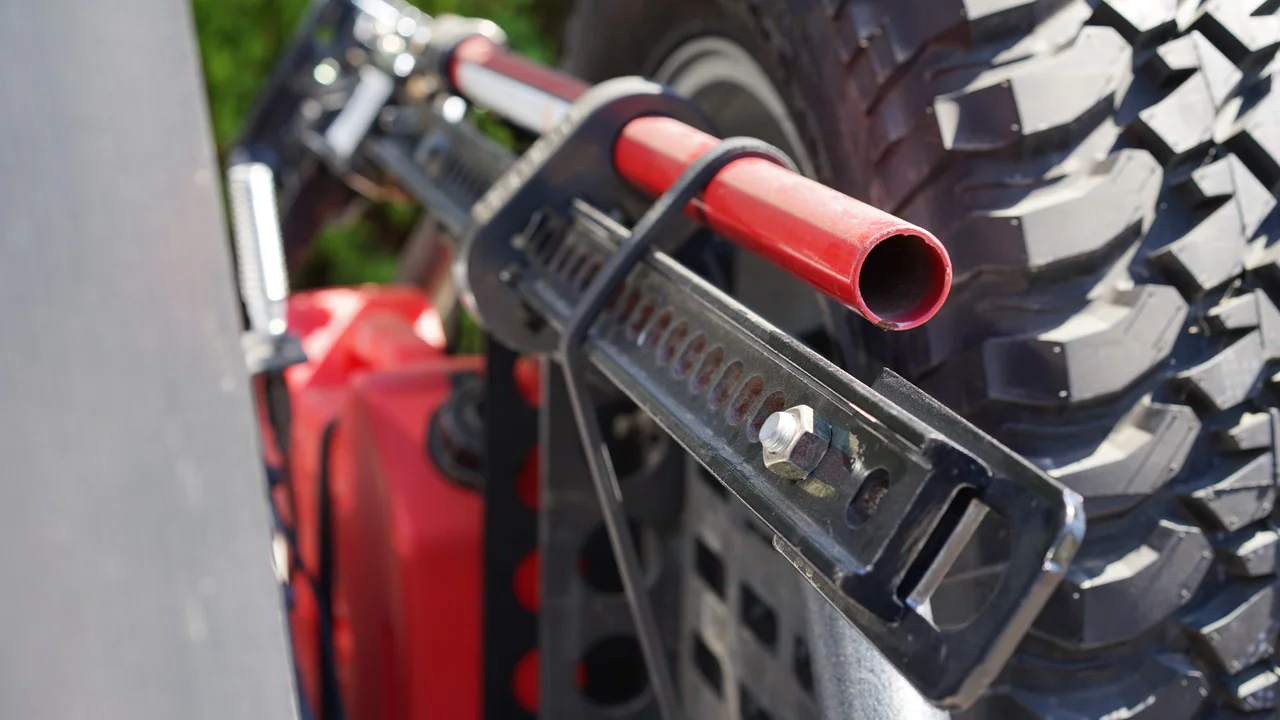
Essential Hi-Lift Jack Accessories: Base Plates, Lift Mates, and Handle Keepers
Using a Hi-Lift jack by itself can be tricky, especially on soft or uneven terrain. That's where accessories come in. A base plate provides a wider, more stable footing for the jack, preventing it from sinking into the ground. A Lift Mate allows you to lift directly from the wheel, which can be useful in certain situations. And a handle keeper secures the handle when the jack is not in use, preventing it from rattling around and potentially causing injury.
Product Recommendations:
- Hi-Lift Jack ORB Off-Road Base: Provides a wider, more stable base. Around $40.
- Hi-Lift Jack LM100 Lift-Mate: Lifts directly from the wheel. Around $60.
- Hi-Lift Jack Handle Keeper: Secures the handle. Around $15.
Step-by-Step Guide: How to Safely Use a Hi-Lift Jack for Tire Changes and Vehicle Recovery
Alright, let's get to the actual process. Here's a step-by-step guide on how to use a Hi-Lift jack safely:
- Park on a level surface (as much as possible): Engage your parking brake and use wheel chocks to prevent the vehicle from rolling.
- Identify your jacking point: Make sure it's a strong, reinforced area.
- Position the jack: Place the jack so that the lifting nose is securely engaged with the jacking point.
- Stabilize the jack: Use a base plate if necessary to prevent the jack from sinking.
- Begin lifting: Use slow, controlled strokes. Keep a firm grip on the handle and watch the jack closely for any signs of instability.
- Lift the vehicle high enough: Lift the vehicle high enough to perform the necessary task (e.g., change a tire, place recovery boards).
- Secure the vehicle: Never work under a vehicle supported only by a Hi-Lift jack. Use jack stands to support the vehicle before getting underneath.
- Perform the task: Change the tire, place recovery boards, etc.
- Lower the vehicle: Use slow, controlled strokes to lower the vehicle back to the ground.
- Remove the jack: Carefully remove the jack from the jacking point.
Common Mistakes to Avoid When Using a Hi-Lift Jack: Preventing Accidents and Injuries
Here are some common mistakes to avoid when using a Hi-Lift jack:
- Using the jack on unstable ground: This can cause the jack to sink or tip over.
- Jacking from an unsafe point: This can damage your vehicle or cause the jack to slip.
- Working under a vehicle supported only by the jack: This is extremely dangerous. Always use jack stands.
- Overextending the jack: This can damage the jack and make it unstable.
- Not paying attention to the jack's stability: Monitor the jack closely for any signs of instability.
- Using the jack without proper training: Practice using the jack in a safe environment before you need it on the trail.
Hi-Lift Jack Alternatives: Exploring Other Off-Road Recovery Options
While Hi-Lift jacks are versatile, they're not always the best tool for the job. Here are some alternatives to consider:
- Bottle Jacks: More stable than Hi-Lift jacks, but require less ground clearance.
- Scissor Jacks: Compact and lightweight, but not as strong or versatile as other options.
- Exhaust Jacks: Inflate using your vehicle's exhaust, providing a large lifting surface.
- Recovery Boards: Can be used to gain traction and lift the vehicle slightly.
- Winches: The ultimate recovery tool, but require a winch-capable bumper.
The best recovery setup often involves a combination of tools. A Hi-Lift jack can be used to lift the vehicle, while recovery boards provide traction. A winch can be used to pull the vehicle out of a difficult situation. Having a variety of tools at your disposal will increase your chances of a successful recovery.
Real-World Scenarios: Examples of How a Hi-Lift Jack Can Be Used in Off-Road Situations
Let's look at some real-world scenarios where a Hi-Lift jack can be invaluable:
- Changing a flat tire on the trail: A Hi-Lift jack can lift the vehicle high enough to change a tire, even on uneven terrain.
- Lifting a vehicle out of a rut: A Hi-Lift jack can lift the vehicle high enough to place recovery boards under the tires.
- Moving obstacles out of the way: A Hi-Lift jack can be used to lift and move small obstacles, such as rocks or logs.
- Performing trail repairs: A Hi-Lift jack can be used to lift the vehicle to allow for repairs to the suspension or undercarriage.
Maintaining Your Hi-Lift Jack: Cleaning, Lubricating, and Storing for Longevity
To keep your Hi-Lift jack in good working condition, it's important to maintain it properly. After each use, clean the jack thoroughly to remove dirt and debris. Lubricate the moving parts with a high-quality lubricant. And store the jack in a dry place to prevent rust. Regularly inspect the jack for any signs of damage, such as cracks or bends. If you find any damage, replace the jack immediately.
By following these tips, you can ensure that your Hi-Lift jack will be a reliable tool for many years to come.
:max_bytes(150000):strip_icc()/277019-baked-pork-chops-with-cream-of-mushroom-soup-DDMFS-beauty-4x3-BG-7505-5762b731cf30447d9cbbbbbf387beafa.jpg)