Budget-Friendly Overlanding Gear Options for Beginners
Discover the best aftermarket lighting solutions for your overlanding adventures. Learn about LED light bars, spotlights, and more to enhance visibility and safety during nighttime driving. Explore product comparisons, prices, and expert tips for improving your overlanding setup.
Understanding the Importance of Aftermarket Lighting for Overlanding Safety
Overlanding is an incredible way to explore the world, pushing your vehicle and your skills to the limit. However, a significant portion of overlanding often happens at night, whether you're navigating challenging trails, setting up camp, or simply driving to your next destination. This is where aftermarket lighting becomes absolutely crucial. Stock headlights are often inadequate for the demands of overlanding, providing limited range and poor visibility in adverse weather conditions. Aftermarket lighting, on the other hand, offers a significant upgrade in brightness, range, and overall performance, enhancing safety and making nighttime overlanding much more enjoyable.
Think about it: navigating a rocky trail at night with only your factory headlights. The shadows are deep, the terrain is uneven, and the risk of damaging your vehicle is significantly increased. With powerful LED light bars or spotlights, you can illuminate the trail ahead, revealing obstacles and potential hazards, giving you the confidence to navigate safely. Similarly, setting up camp in the dark can be challenging and even dangerous without adequate lighting. Aftermarket lights can provide a bright, even light source, making it easier to prepare meals, set up your tent, and ensure the safety of your campsite.
Types of Aftermarket Lighting for Overlanding and Their Applications
The world of aftermarket lighting is vast and varied, with options to suit every overlanding need and budget. Here's a breakdown of the most common types of lights and their typical applications:
LED Light Bars: The Versatile Workhorse of Overlanding Lighting
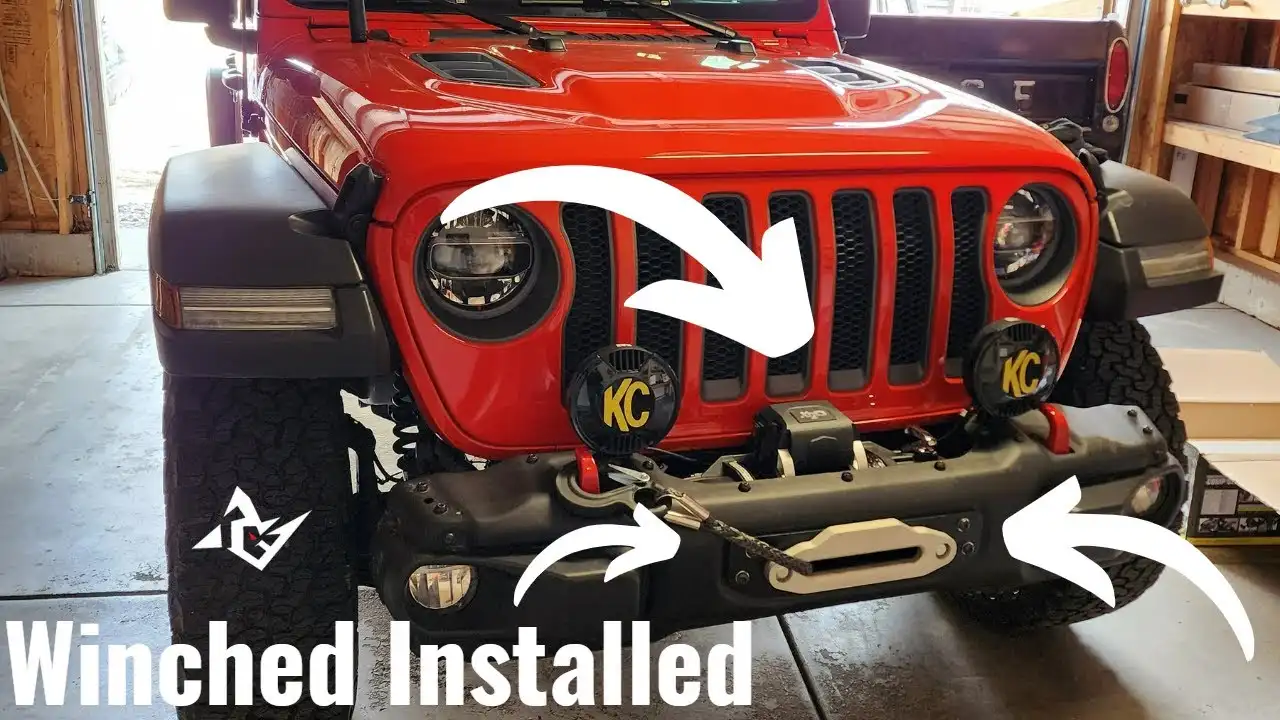
LED light bars are by far the most popular choice for overlanding, offering a combination of brightness, versatility, and durability. They come in a wide range of sizes, shapes, and beam patterns, making them suitable for a variety of applications. Here's a closer look at the different types of LED light bars:
- Spot Beam Light Bars: These light bars focus their light into a narrow, concentrated beam, providing maximum range and visibility down the trail. They're ideal for high-speed driving on open roads or for spotting distant objects.
- Flood Beam Light Bars: Flood beam light bars, on the other hand, spread their light over a wider area, providing excellent peripheral vision and illuminating the immediate surroundings. They're great for navigating tight trails, setting up camp, or providing general area lighting.
- Combo Beam Light Bars: Combo beam light bars combine both spot and flood beams, offering a balance of range and peripheral vision. They're a good all-around choice for overlanding, providing adequate lighting for a variety of situations.
Spotlights: Precision Lighting for Targeted Illumination
Spotlights are designed for precise, targeted illumination. They typically feature a narrow, intense beam that can be focused on specific objects or areas. They're often used for spotting wildlife, illuminating distant landmarks, or providing supplemental lighting for specific tasks.
Fog Lights: Cutting Through Inclement Weather for Enhanced Visibility
Fog lights are designed to cut through fog, rain, and snow, providing improved visibility in adverse weather conditions. They typically feature a wide, low beam that is positioned close to the ground, minimizing glare and maximizing visibility. Fog lights are an essential addition for overlanders who frequently encounter challenging weather conditions.
Auxiliary Headlights: Upgrading Your Factory Headlights for Improved Performance
If you're not ready to invest in a full-blown aftermarket lighting system, you can still significantly improve your nighttime visibility by upgrading your factory headlights. There are a variety of aftermarket headlight bulbs and housings available that offer improved brightness, range, and beam pattern compared to stock headlights. This can be a cost-effective way to enhance your overlanding safety.
Rock Lights: Illuminating the Underbelly of Your Vehicle for Obstacle Navigation
Rock lights are small, durable LED lights that are mounted under the vehicle to illuminate the undercarriage. They're particularly useful for navigating rocky terrain, allowing you to see potential obstacles and avoid damaging your vehicle. Rock lights also add a cool, aggressive look to your overlanding rig.
Key Features to Consider When Choosing Aftermarket Lighting
With so many options available, choosing the right aftermarket lighting can be overwhelming. Here are some key features to consider when making your decision:
- Brightness (Lumens): Lumens are a measure of the total amount of light emitted by a light source. The higher the lumen rating, the brighter the light. Consider the lumen rating when choosing light bars and spotlights, as it will directly impact their range and effectiveness.
- Beam Pattern: As discussed earlier, beam pattern refers to the shape and direction of the light beam. Choose a beam pattern that is appropriate for your specific overlanding needs.
- Durability: Overlanding can be tough on your equipment, so it's important to choose lights that are built to withstand the rigors of off-road driving. Look for lights that are waterproof, dustproof, and vibration-resistant.
- Waterproof Rating (IP Rating): The Ingress Protection (IP) rating indicates the level of protection against dust and water. Look for lights with an IP67 or IP68 rating for maximum protection.
- Color Temperature (Kelvin): Color temperature is a measure of the color of the light emitted by a light source. Lower Kelvin ratings (e.g., 3000K) produce a warm, yellow light, while higher Kelvin ratings (e.g., 6000K) produce a cool, white light. Choose a color temperature that is comfortable for your eyes and appropriate for the driving conditions.
- Power Consumption (Watts): Consider the power consumption of your lights, as they will draw power from your vehicle's electrical system. Choose lights that are energy-efficient to avoid draining your battery.
- Mounting Options: Ensure that the lights you choose have compatible mounting options for your vehicle. Consider the location where you want to mount the lights and choose mounting brackets that are appropriate for that location.
Product Recommendations and Comparisons: The Best Aftermarket Lighting for Overlanding in 2024
Here are a few specific product recommendations, with comparisons and pricing to help you make an informed decision:
1. Baja Designs Squadron Pro LED Driving/Combo Light
Description: The Baja Designs Squadron Pro is a highly versatile and popular LED light pod, known for its exceptional brightness and durability. It features a driving/combo beam pattern, providing a good balance of range and peripheral vision.
Features:
- 4,900 Lumens
- Driving/Combo Beam Pattern
- IP69K Waterproof Rating
- Die-Cast Aluminum Housing
- Available in Amber and White
Pros: Exceptional brightness, durable construction, versatile beam pattern, excellent reputation.
Cons: Relatively expensive compared to some other options, may require additional wiring harness.
Price: Approximately $250 - $300 per light pod.
Use Case: Perfect for mounting on a bumper, roof rack, or A-pillar for general overlanding illumination.
2. Rigid Industries SR-Series Pro LED Light Bar
Description: Rigid Industries is a renowned name in the off-road lighting industry, and their SR-Series Pro LED Light Bar is a testament to their quality and performance. This light bar is known for its sleek design, exceptional brightness, and durable construction.
Features:
- Varies based on size, ranging from 1,500 to 15,000+ Lumens
- Available in Spot, Flood, and Driving Beam Patterns
- IP68 Waterproof Rating
- Extruded Aluminum Housing
- Multiple Sizes Available
Pros: Exceptional brightness, durable construction, sleek design, multiple beam pattern options.
Cons: Can be expensive, may require professional installation.
Price: Varies based on size and configuration, ranging from $300 to $1,500+.
Use Case: Ideal for mounting on a roof rack or bumper for long-range visibility on open roads and trails.
3. KC HiLiTES FLEX ERA 3 LED System
Description: The KC HiLiTES FLEX ERA 3 is a modular and customizable LED lighting system that allows you to create the perfect lighting setup for your specific needs. This system features individual LED pods that can be configured in a variety of beam patterns and mounting locations.
Features:
- 3,672 Lumens per light
- Modular Design
- Available in Spot, Flood, and Combo Beam Patterns
- IP68 Waterproof Rating
- Die-Cast Aluminum Housing
Pros: Highly customizable, durable construction, versatile beam pattern options, unique styling.
Cons: Can be more complex to install than a traditional light bar, individual pods can be expensive.
Price: Approximately $800 - $1,200 for a complete system.
Use Case: Perfect for overlanders who want a highly customizable and versatile lighting system that can be adapted to different driving conditions.
4. Diode Dynamics SS3 LED Fog Light Kit
Description: The Diode Dynamics SS3 LED Fog Light Kit is a significant upgrade over factory fog lights, providing improved visibility in fog, rain, and snow. These fog lights feature a wide, low beam that minimizes glare and maximizes visibility.
Features:
- Available in Selective Yellow and White
- SAE Compliant
- Plug-and-Play Installation (in most vehicles)
- IP67 Waterproof Rating
- Die-Cast Aluminum Housing
Pros: Improved visibility in inclement weather, easy installation, SAE compliant, available in selective yellow.
Cons: Limited range compared to light bars and spotlights.
Price: Approximately $200 - $300 per kit.
Use Case: Essential for overlanders who frequently encounter fog, rain, or snow.
Installation Tips and Best Practices for Aftermarket Lighting
Proper installation is crucial for ensuring the safety and performance of your aftermarket lighting. Here are some tips and best practices to follow:
- Plan Your Wiring: Before you begin the installation, carefully plan your wiring route. Use high-quality wiring harnesses and connectors that are designed for automotive use. Ensure that all wiring is properly secured and protected from abrasion.
- Use a Relay: Always use a relay to power your aftermarket lights. A relay will protect your vehicle's electrical system from overload and ensure that the lights receive a consistent power supply.
- Proper Grounding: Ensure that all lights are properly grounded to the vehicle's chassis. A poor ground can cause flickering, dimming, and other electrical problems.
- Fuse Protection: Use appropriately sized fuses to protect your aftermarket lights and your vehicle's electrical system. Consult the light manufacturer's specifications for the correct fuse size.
- Professional Installation (If Necessary): If you're not comfortable with electrical wiring, consider having your aftermarket lights professionally installed. A qualified technician can ensure that the lights are properly installed and wired, minimizing the risk of electrical problems.
- Aim Your Lights Properly: After installation, take the time to properly aim your lights. Improperly aimed lights can cause glare for other drivers and reduce your own visibility.
Maintaining Your Aftermarket Lighting for Longevity
To ensure that your aftermarket lights last for years to come, it's important to properly maintain them. Here are a few tips:
- Clean Your Lights Regularly: Regularly clean your lights with a mild soap and water solution to remove dirt, dust, and grime. This will help to maintain their brightness and prevent corrosion.
- Inspect for Damage: Regularly inspect your lights for damage, such as cracks, chips, or broken lenses. Replace any damaged components as soon as possible.
- Check Wiring and Connections: Periodically check your wiring and connections to ensure that they are secure and free from corrosion.
- Store Your Lights Properly: If you're not using your lights for an extended period of time, store them in a dry, protected location.
By following these tips and recommendations, you can choose the best aftermarket lighting for your overlanding adventures and ensure that you have the visibility and safety you need to explore the world, day or night. Remember to always prioritize safety and drive responsibly, regardless of the lighting conditions.
:max_bytes(150000):strip_icc()/277019-baked-pork-chops-with-cream-of-mushroom-soup-DDMFS-beauty-4x3-BG-7505-5762b731cf30447d9cbbbbbf387beafa.jpg)


