Maintaining Your Off-Road Armor: A Complete Guide
Protect your vehicle without breaking the bank. Discover budget-friendly armor options that deliver results. Enhance your vehicle's protection without exceeding your budget. Get more out of your off-road adventures with our cost-effective solutions.
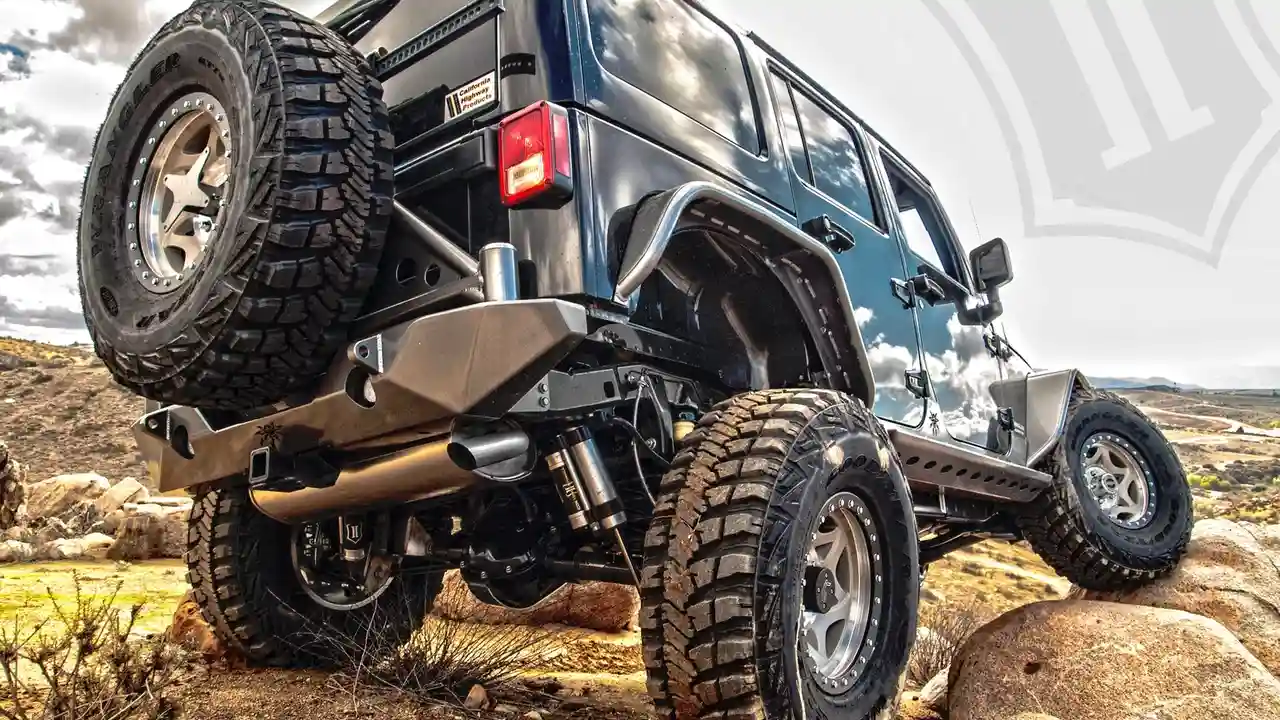
Introduction to Off-Road Armor Maintenance
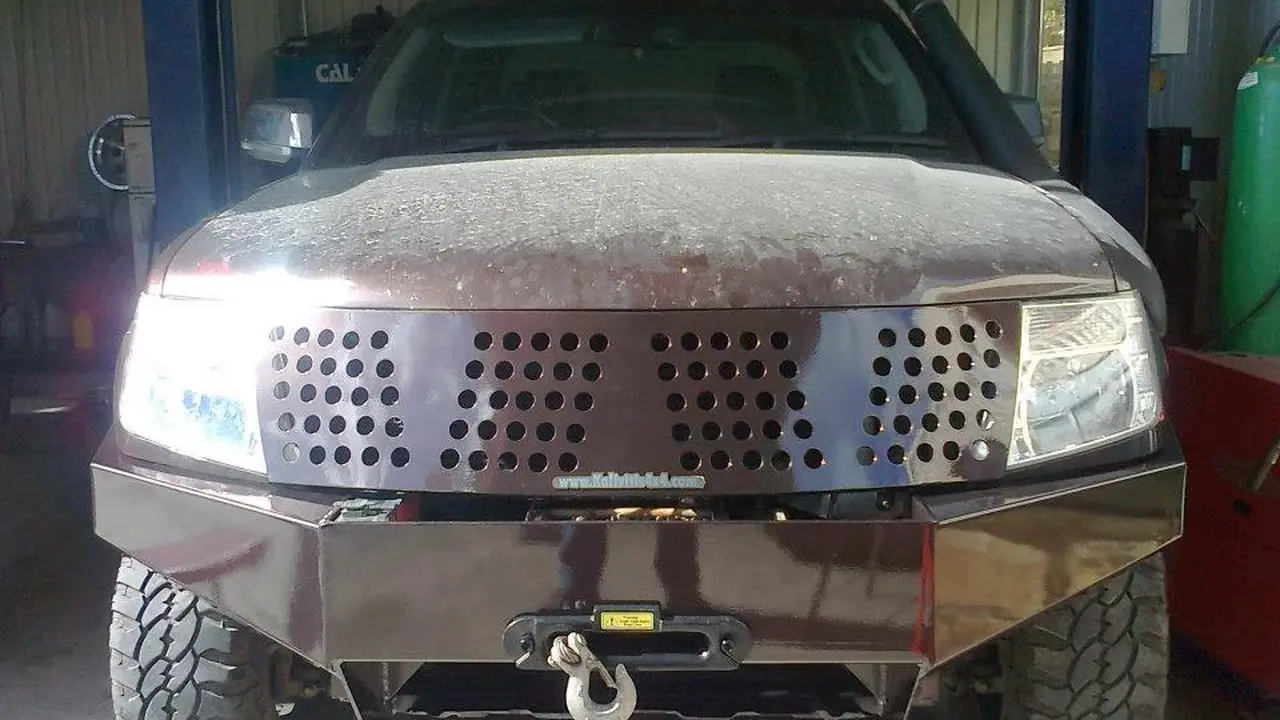
Alright, you've invested in some serious armor for your off-road rig. Rock sliders, skid plates, bumpers – the works! Now, keeping that gear in top shape is crucial, not just for aesthetics, but for actual protection out on the trails. Think of it like this: your armor is your vehicle's shield against the elements and the terrain. Neglecting it is like letting your shield rust and weaken. This guide will walk you through the essential steps to maintain your off-road armor, ensuring it's always ready to take a beating.
Why Maintain Your Off-Road Armor?
So, why bother with maintenance? Here's the deal:
- Prevent Rust and Corrosion: This is the big one. Most off-road armor is made of steel, which is prone to rust, especially in wet and salty environments. Rust weakens the metal, making it less effective at protecting your vehicle.
- Extend the Lifespan: Proper maintenance significantly extends the lifespan of your armor. A little TLC now can save you from costly replacements down the road.
- Maintain Optimal Performance: Dents, scrapes, and loose mounting hardware can compromise the effectiveness of your armor. Regular maintenance ensures it's functioning as intended.
- Preserve Appearance: Let's be honest, you want your rig to look good, right? Maintaining your armor keeps it looking its best, even after some serious trail abuse.
Essential Tools and Supplies for Armor Maintenance
Before you dive in, gather your tools and supplies. Here's a basic list:
- Pressure Washer: For blasting away mud, dirt, and debris.
- Wire Brush: For removing loose rust and paint.
- Sandpaper: Various grits for smoothing surfaces.
- Rust Converter: To neutralize existing rust.
- Primer: To prepare the surface for paint.
- Paint: Specifically designed for off-road use (e.g., bed liner, enamel).
- Wrenches and Sockets: To tighten mounting hardware.
- Torque Wrench: To ensure proper torque on bolts.
- Penetrating Oil: For loosening rusted bolts.
- Grease: For lubricating hinges and joints.
- Rags: Lots and lots of rags!
- Safety Glasses and Gloves: Protect your eyes and hands.
Step-by-Step Guide to Maintaining Your Off-Road Armor
Okay, let's get to it. Here's a step-by-step guide to maintaining your off-road armor:
H2 Cleaning Your Off-Road Armor The First Step in Protection
This is the most frequent maintenance task you'll perform. After every off-road trip, give your armor a thorough cleaning.
- Rinse with Water: Use a pressure washer to blast away loose mud, dirt, and debris. Pay attention to hard-to-reach areas.
- Wash with Soap: Use a mild soap and water solution to remove stubborn grime. A brush can help scrub away tough spots.
- Rinse Again: Rinse thoroughly with clean water to remove all soap residue.
- Dry Completely: Allow the armor to air dry completely. You can use a leaf blower or towels to speed up the process.
H2 Inspecting Your Off-Road Armor For Damage and Wear
Regular inspections are crucial for identifying potential problems before they become major issues.
- Visual Inspection: Carefully examine your armor for dents, scrapes, cracks, and rust. Pay attention to areas that are frequently exposed to impact.
- Check Mounting Hardware: Ensure all bolts and nuts are tight. Use a wrench to tighten any loose hardware. Consult your armor's installation instructions for proper torque specifications.
- Inspect Welds: Check for cracks or breaks in the welds. If you find any damage, consult a professional welder for repair.
- Look for Corrosion: Pay close attention to areas where paint is chipped or scratched. These are prime spots for rust to develop.
H2 Repairing Scratches and Chips on Your Off-Road Armor
Even the toughest armor will eventually get scratched and chipped. Repairing these blemishes prevents rust and maintains the armor's appearance.
- Clean the Area: Clean the affected area with soap and water. Remove any loose paint or rust with a wire brush or sandpaper.
- Apply Rust Converter: If rust is present, apply a rust converter to neutralize it. Follow the manufacturer's instructions.
- Sand the Surface: Sand the area smooth with fine-grit sandpaper. This will help the primer and paint adhere properly.
- Apply Primer: Apply a thin coat of primer to the area. Allow it to dry completely according to the manufacturer's instructions.
- Paint: Apply several thin coats of paint, allowing each coat to dry before applying the next. Use a paint specifically designed for off-road use, such as bed liner or enamel.
H2 Addressing Rust on Your Off-Road Armor A Crucial Step
Rust is the enemy of steel armor. Addressing it promptly is essential for preventing further damage.
- Remove Loose Rust: Use a wire brush or sandpaper to remove as much loose rust as possible.
- Apply Rust Converter: Apply a rust converter to neutralize the remaining rust. Follow the manufacturer's instructions.
- Sand the Surface: Sand the area smooth with fine-grit sandpaper.
- Apply Primer: Apply a thin coat of primer to the area.
- Paint: Apply several thin coats of paint.
H2 Tightening and Lubricating Mounting Hardware on Your Off-Road Armor
Loose mounting hardware can compromise the effectiveness of your armor and create annoying rattles. Lubricating hinges and joints keeps them moving smoothly.
- Tighten Bolts and Nuts: Use a wrench to tighten all bolts and nuts. Consult your armor's installation instructions for proper torque specifications. Use a torque wrench to ensure proper tightness.
- Lubricate Hinges and Joints: Apply grease to any hinges or joints, such as those on rock sliders or bumpers. This will keep them moving smoothly and prevent rust.
- Use Penetrating Oil: If you encounter any rusted bolts, apply penetrating oil and allow it to soak for several hours before attempting to loosen them.
H2 Protecting Your Off-Road Armor in Harsh Environments
If you live in an area with harsh weather conditions (e.g., salt, snow, extreme heat), you'll need to take extra precautions to protect your armor.
- Apply a Protective Coating: Consider applying a protective coating, such as a rust inhibitor or ceramic coating, to your armor. This will provide an extra layer of protection against the elements.
- Wash Frequently: Wash your armor more frequently, especially after exposure to salt or snow.
- Store Indoors: If possible, store your vehicle indoors when it's not in use. This will help protect it from the elements.
Product Recommendations for Off-Road Armor Maintenance
Here are a few product recommendations to help you maintain your off-road armor:
H2 Rust Converters and Inhibitors For Long-Lasting Protection
- POR-15 Rust Preventive Coating: This is a popular and highly effective rust preventive coating. It's a bit pricey, but it provides excellent protection. Expect to pay around $40-$50 per quart.
- KBS Coatings RustSeal: Another excellent rust preventive coating that's similar to POR-15. It's also available in a variety of colors. Price range is similar to POR-15.
- Fluid Film: This is a lanolin-based rust inhibitor that's easy to apply. It's not as durable as a coating, but it provides good protection and can be reapplied as needed. A can of Fluid Film costs approximately $15-$20.
H2 Paints and Coatings For Durable Armor Finishes
- Rust-Oleum Truck Bed Coating: This is a durable and textured coating that's perfect for off-road armor. It's easy to apply and provides excellent protection against scratches and chips. Expect to pay around $20 per can.
- Krylon Fusion All-In-One: This paint is designed to adhere to a variety of surfaces, including metal and plastic. It's a good option for touch-ups and small repairs. A can typically costs $8-$10.
- Powder Coating: For the most durable finish, consider powder coating your armor. This is a professional service that involves applying a dry powder to the metal and then baking it in an oven. Powder coating is more expensive than painting, but it provides superior protection and a long-lasting finish. Prices vary depending on the size and complexity of the part.
H2 Cleaning Supplies For Keeping Your Armor Spotless
- Simple Green All-Purpose Cleaner: A versatile cleaner that's effective at removing dirt, grime, and grease. A gallon costs around $10-$15.
- Meguiar's Gold Class Car Wash Shampoo & Conditioner: A gentle car wash soap that's safe for all surfaces. A bottle costs around $10-$15.
- Pressure Washer: A pressure washer is essential for blasting away mud and dirt. A decent electric pressure washer can be purchased for around $100-$200.
Comparing Different Armor Maintenance Products
When choosing products for maintaining your off-road armor, consider the following factors:
- Durability: How well will the product hold up to the rigors of off-roading?
- Ease of Application: How easy is the product to apply?
- Cost: How much does the product cost?
- Environmental Impact: Is the product environmentally friendly?
For example, POR-15 is a highly durable rust preventive coating, but it's more difficult to apply than Fluid Film. Rust-Oleum Truck Bed Coating provides excellent protection against scratches and chips, but it's not as durable as powder coating. Consider your needs and budget when choosing products for maintaining your off-road armor.
Real-World Scenarios and Maintenance Tips
H2 Scenario 1 After a Muddy Trail Run
Scenario: You've just spent the day tearing through muddy trails. Your armor is covered in mud and grime.
Maintenance: Immediately rinse your armor with a pressure washer to remove as much mud as possible. Then, wash it with soap and water to remove any remaining grime. Dry it completely and inspect for any damage.
H2 Scenario 2 After Exposure to Saltwater
Scenario: You've been driving on the beach or near saltwater.
Maintenance: Rinse your armor thoroughly with fresh water to remove all salt residue. Saltwater is highly corrosive and can quickly cause rust. Consider applying a rust inhibitor to protect your armor.
H2 Scenario 3 Dealing With Scratches From Rocks
Scenario: You've been rock crawling and have scratched your rock sliders.
Maintenance: Clean the scratched area with soap and water. Remove any loose paint or rust with a wire brush or sandpaper. Apply rust converter if necessary. Sand the surface smooth and apply primer and paint.
Don't Forget Regular Checks!
Maintaining your off-road armor isn't a one-time thing. Make it a habit to inspect and clean your armor regularly, especially after off-road trips. A little preventative maintenance can go a long way in protecting your investment and ensuring your vehicle is always ready for adventure.
:max_bytes(150000):strip_icc()/277019-baked-pork-chops-with-cream-of-mushroom-soup-DDMFS-beauty-4x3-BG-7505-5762b731cf30447d9cbbbbbf387beafa.jpg)


